4PI Speaker Build
This is a build log for my 4PI speakers. These high-efficiency speakers have a 15" woofer and a horn-loaded tweeter.
This post contains images/notes from my build of a pair of 4PI speakers. These speakers are very efficient (98dB+) and use a 15" woofer and 1" horn-loaded tweeter.
First, I gathered parts and assembled the crossovers on some scrap 1/4" thick plywood.

Then I sanded and painted the horns to cover up some of visible the mold lines.
Next time I would wait until the very end to do this step as the horns took some abuse during assembly and need to be re-finished.


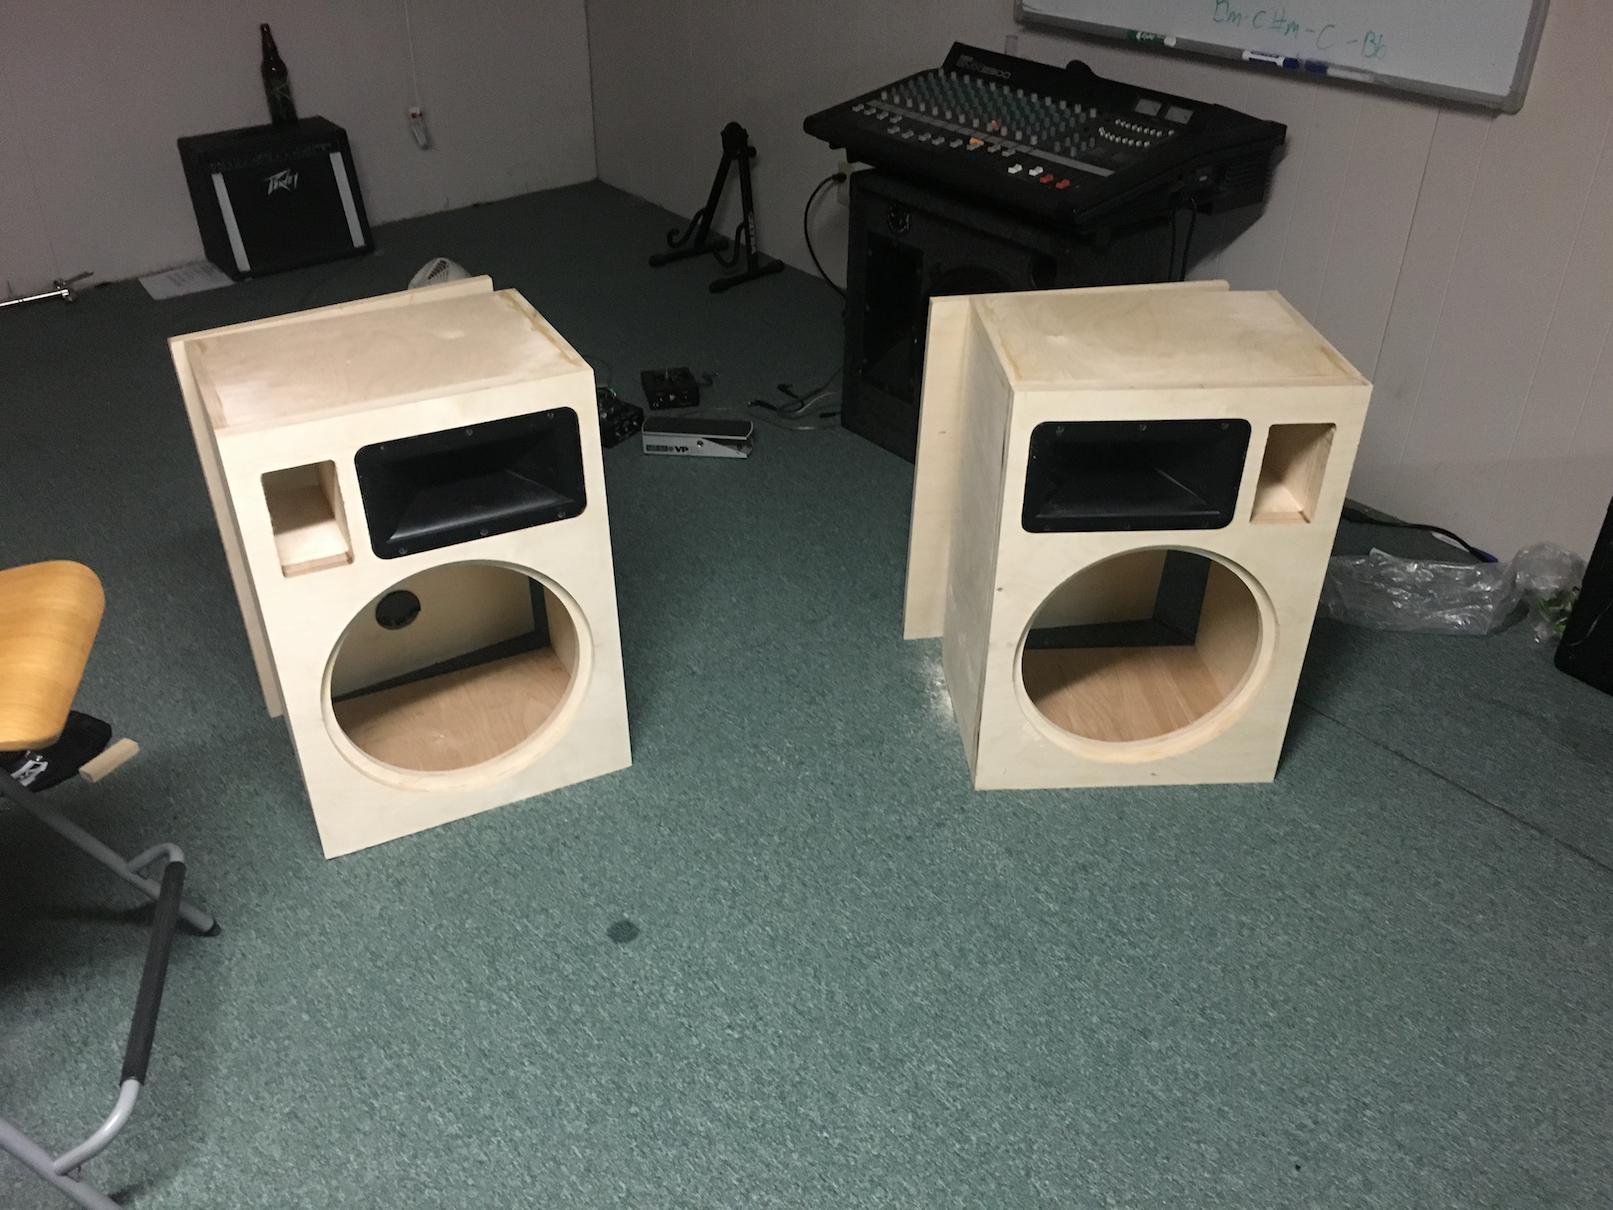
The speakers are are assembled from 3/4" baltic birch plywood. The front baffle uses two layers for extra rigidity. This also lets the horn and speaker drivers be flush mounted. Yes, the front baffle is 1.5" thick, and yes, the speakers are very heavy :).
Most of the construction was done with a table saw and a hand-held router.
The rectangular port on this design is tuned for ~38hz.


A hole-cutting jig for the router made the baffle opening for the JBL2226 easy. I used this one from PartExpress.


I built a rectangular jig to help cut out the recess for the horns. I cut the radius in the corners by hand.


At this point they actually started to look like speakers. I brought them inside for finishing and final assembly. I also sealed all of the internal seams with caulk.


I added household insulation to dampen some of the internal reflections and I mounted the crossovers to the bottom of the cabinet.
Per Wayne's recommendation, the braces in the picture below are installed under tension to push against the outside walls and increase the stiffness of the cabinet.


After lugging the speakers upstairs (did I mention they are heavy?) we were able to hear them for the first time. They sound great!

After a few days of listening, I took them back downstairs to add veneer.
I selected a teak veneer for this project since I knew I wanted to use teak hardwood for the amplifier and preamplifier. I got some sheets of paper-backed veneer and used wood glue and an ironing board to apply the veneer. For each surface, I used the same steps:
- Rough-cut the veneer to shape
- Use a paint roller to apply wood glue to the paper backing of the veneer and the surface of the speaker.
- Wait for wood glue to dry.
- Use a thin cotton towel to protect the wood, then use an iron to re-melt the wood glue and perminantly afix the veneer to the wood.
- Trim off the excess veneer using a router and a flush-cut bit.
To prepare the rough-cuts, I took images of both veneer sheets and used Adobe Illustrator to experiment with different layouts:


This is very time-consuming, but relatively easy work. I think I spent approx. 15 minutes ironing each side of the speaker to make sure the veneer adhered properly over the entire surface.
The flush-cutting router bit was very helpful throughout the whole process.


Finally, I taped off the speaker and added black paint to some of the remaining exposed baltic birch.


A few coats of teak oil and the speakers are done. I built the hairpin leg stands separately. There isn't much to them. The front legs are slightly longer than the back legs so the speakers lean up a little towards the listener.


