Coffee Roaster Conclusion and Results
On this page I wrap up the project by covering a few open items. I summarize the experience using the roaster and lay out some future opportunities.
Back to Firmware and UI.
On this page I wrap up the project by covering a few open items. I summarize the experience using the roaster and lay out some future opportunities.
Enclosure
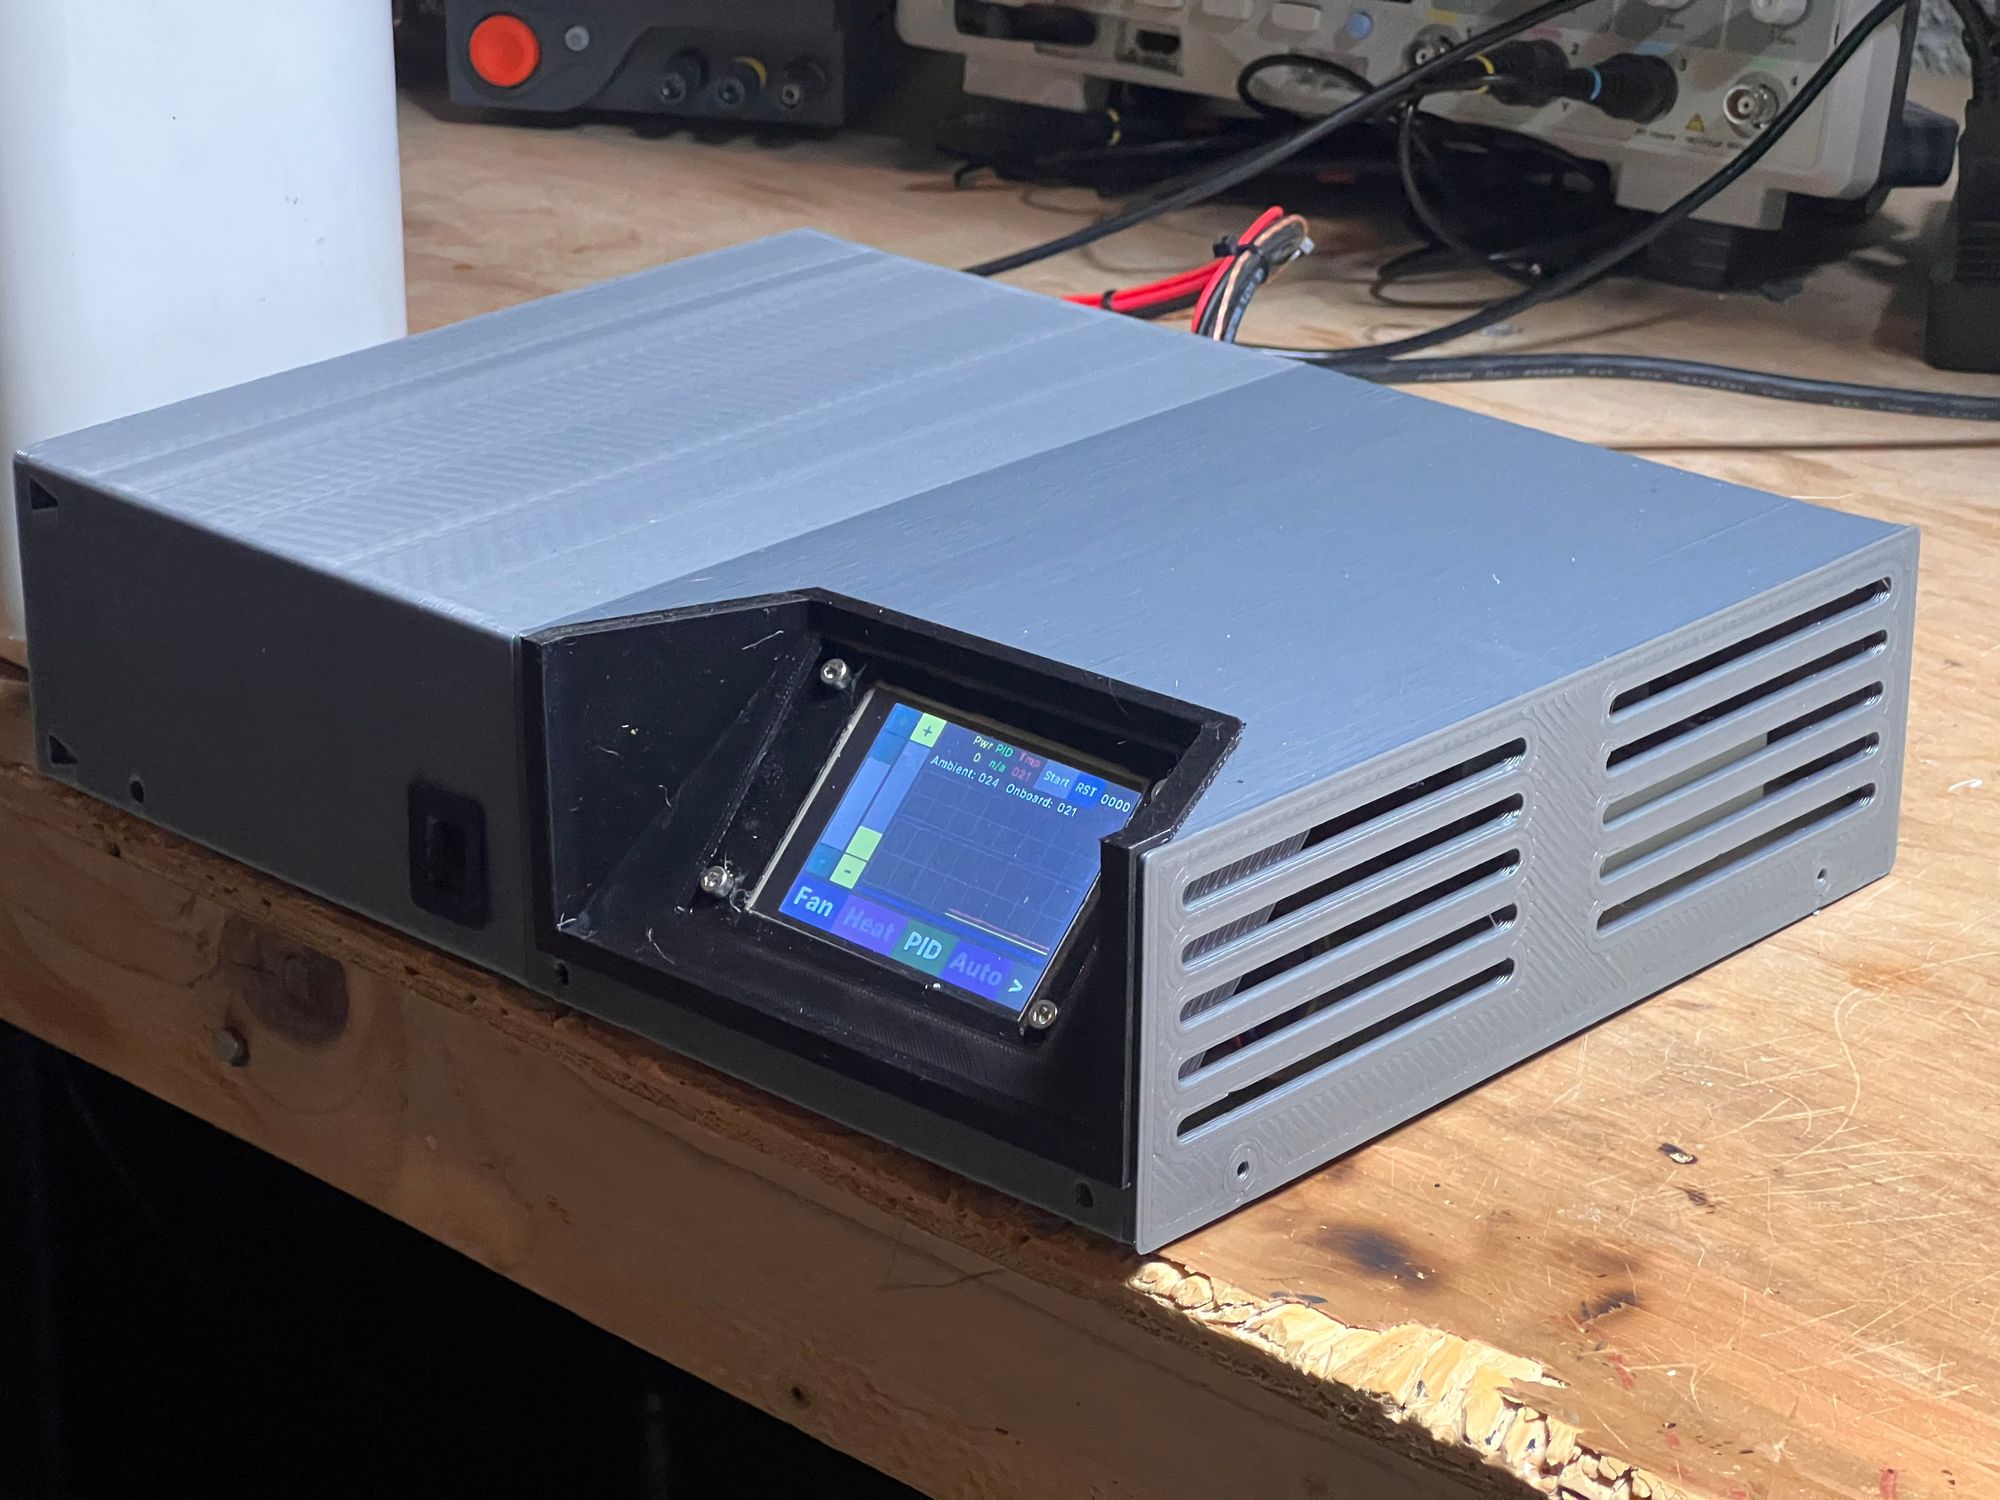
The last step of the roaster was to 3D-print an enclosure.
I printed the enclosure in two pieces on my Prusa MK3S printer. The two halves screw together with M3x10 screws. The enclosure protects the internals and makes the roaster easier to transport and store.

The enclosure is not particularly elegant and was put together quickly. Its also designed for the specific piece of plywood I pulled from my garage, which happened to be 217 x 295 mm (18mm thick). That said, if you want to print one yourself or modify the design, you can find the files on Fusion360 here:
Enclosure
Nextion Display
Nextion Display Holder
USB trim piece

Results
I've been very happy with the roast results so far. I've been sourcing my coffee from Deans Beans and so far I've tried the Organic Nicaraguan and Organic Columbian beans with good success. I roast a bit past the 1st Crack for both coffees.
I've been happy with the consistency of the beans.

The coffee I'm roasting is comparable to the coffee I buy at a store and the roaster has let me experiment with roast time and profiles. There are no stability issues and the user interface feels very functional. Overall, I'm very happy with the results and hope to use the roaster for years to come!
Next Steps
- Roast more coffee!
Coffee roasting is a hard skill to master. Roasted coffee needs to rest 24-48 hours (or longer) before it should be tasted. Additionally, coffee tasting is not a precise science and is somewhat subjective – especially at my skill level. The combination of long feedback loop and "noisy" measurements means progress is slow on the path toward becoming a better roaster. I am confident that as I roast more I will improve my output and come up with additional improvements to the roaster.
2. Improvements to auto mode
As outlined in the firmware page, the Auto mode can be further improved. I am not completely satisfied with the curve definition I am using today. I'd like to add fan control, open-loop modes, and more granular settings.
A major stretch goal would be to eventually add audio measurement and estimation of 1st and 2nd crack times. I will need to add an additional mcu board for this, but given my audio and DSP experience I think this is an achievable addition if I choose to prioritize it. The complexity is on the order of the complexity of the rest of this entire project.
3. Improved logging
Right now I use a notebook to log each roasting session. I record parameters like ambient temperature, time of 1st crack, auto curve settings, etc. Most of these parameters could be digitally logged for later retrieval.
The Nextion display has a battery and an onboard RTC that isn't being used. Enabling this functionality in software could allow the logs to be written with timestamps.
I don't know if I will do this or not – I do like have a paper record of my roasts. Perhaps a summary screen at the end of the roast would be helpful to reduce the logging workload without adding the complexity of digital logging.
Thanks for reading! Please reach out if you have any questions!
-E