Droplet Photos - Part 1
Droplet photography is interesting to me because it combines two interests of mine: photography and electronics. I've done multiple photo sessions over the years with different technical methods of synchronizing the shots.
In the beginning, the setup was simple. I used a set of harbor freight "helping hands" to hold an IR emitting LED and IR receiver. The signal from the IR receiver was fed into a 555 timer to control a delay before firing a flash. With this setup, I could hold an eyedropper directly above the emitter/receiver pair and when the drop fell between them it would start the sequence.


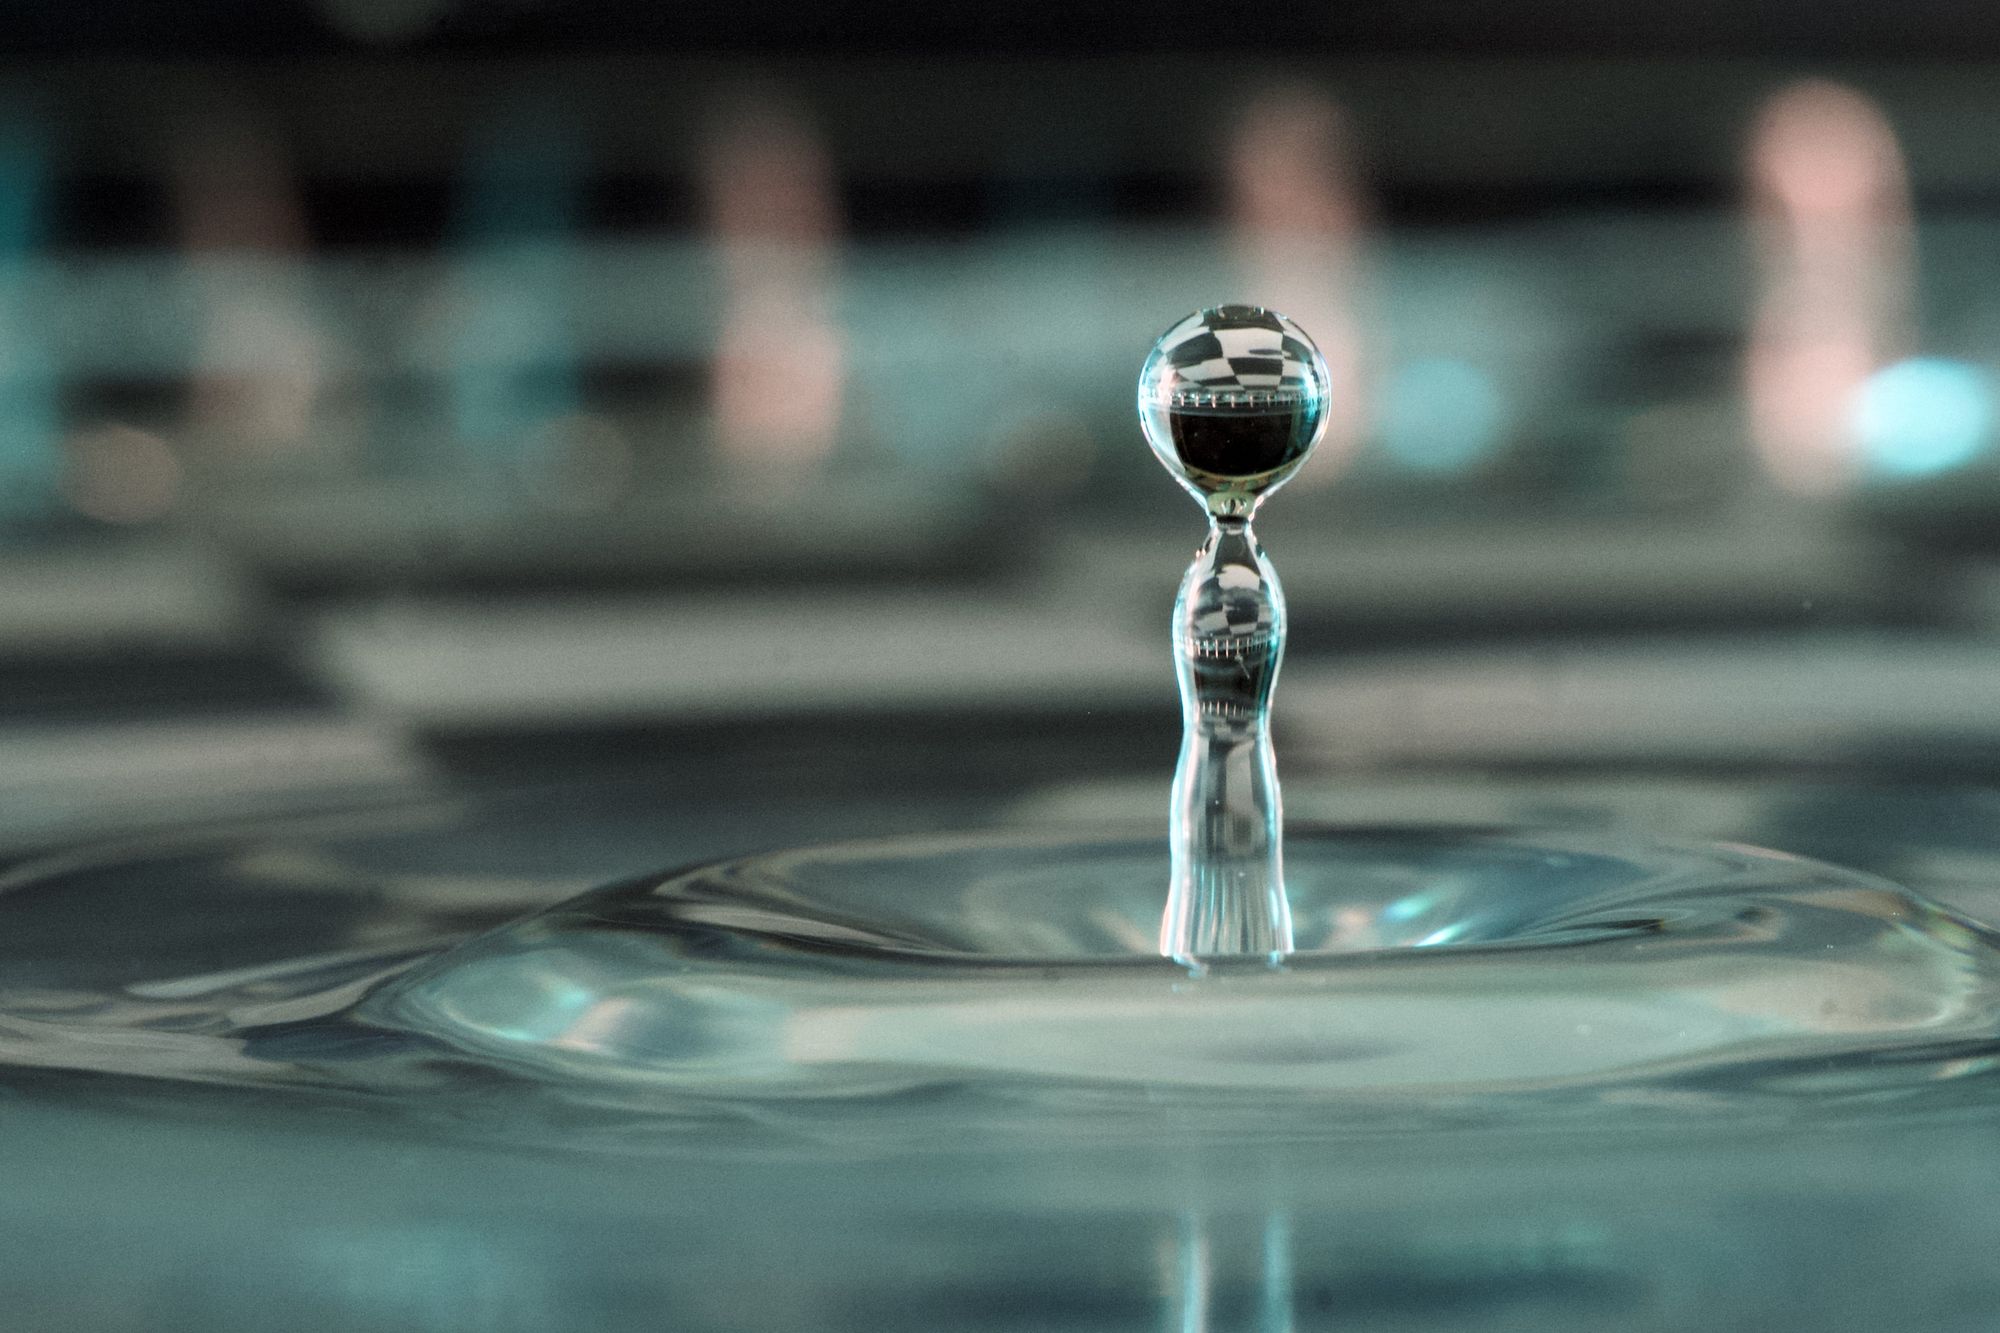
The IR setup allowed for tight control of the timing and I was able get consistent results:

I experimented with various lighting methods, backdrops, droplet mediums, and more:


Occasionally two drops fell from the eyedropper instead of one. If the timing worked out right, the second drop collided with the first and fanned out into a disc. These were some of the most interesting shots and led to the motivation for Part 2. In order to capture these droplet collisions repeatedly, I extended the controller to become fully automated by adding a solenoid to dispense droplets and also camera shutter control.